
When you join me on a Highborn Safari Adventure, you embark on a tailor-made journey through Africa’s breathtaking landscapes and teeming wildlife. Moreover, a key desire often resonates: to capture this magic through stunning wildlife photographs. We witness moments deserving of crisp, vibrant detail. As a fellow photography enthusiast and your host, I truly understand the thrill of a perfect shot. Think of the glint in a leopard’s eye, the dust cloud rising behind a galloping herd, or the intricate patterns on a giraffe’s coat.
However, wildlife photography can be frustrating. For example, you might review your captures after an exhilarating day. You might discover some promising shots lack crucial sharpness. That majestic lion might appear slightly blurred. Furthermore, the vibrant colors of a rare bird might lack definition. This is a common challenge, even for experienced photographers.
Therefore, I want to delve into the common culprits behind unsharp wildlife photos. I’ll share essential tips to ensure your Highborn Safari memories are as crisp and clear as the African air. Inspired by a helpful resource, we’ll explore the top reasons your wildlife photographs might lack sharpness. More importantly, we’ll discuss how to rectify them, enabling you to capture breathtaking African Wildlife Photography on your journey.
Understanding the Fundamentals of Sharp Wildlife Photography
Achieving tack-sharp images is crucial. This is especially true when photographing moving subjects in dynamic environments. It requires understanding several key factors. It’s not just about expensive gear; rather, it’s about mastering your camera settings and technique. On our Highborn Safaris, we often encounter fleeting moments. Being prepared with the right knowledge, therefore, can make all the difference. It can turn a missed opportunity into a portfolio-worthy wildlife photograph.
The Top 5 Culprits Behind Unsharp Safari Photos (and How to Fix Them)
Let’s explore the five primary reasons your wildlife photographs might not be as sharp as you envision. We’ll also cover actionable steps you can take during your Highborn Safari. These are based on common challenges and insightful tips for improving your wildlife photography.

1. The Shutter Speed Struggle: Freezing Wildlife Action
Insufficient shutter speed is a frequent cause of blurry wildlife photos. Wildlife is often on the move. A cheetah sprinting, a bird taking flight, or subtle head turns can cause motion blur. This easily creeps into images if your shutter speed isn’t fast enough. To capture stunning wildlife photography, a fast shutter speed is essential.
The Fix:
- Embrace Faster Shutter Speeds: For wildlife photography, aim for at least 1/focal length (in 35mm equivalent). This counteracts camera shake. However, for moving subjects, you’ll need significantly faster speeds. Consider starting at 1/500th of a second for moderately paced animals. Increase it to 1/1000th of a second or higher for fast-moving creatures or birds in flight.
- Consider Burst Mode: When photographing action, use your camera’s continuous shooting mode (burst mode). This captures a sequence of images rapidly. Consequently, it increases your chances of getting at least one sharp frame. The animal’s movement will be frozen, resulting in a clearer wildlife photograph.
- Utilize Auto ISO Wisely: Don’t hesitate to use your camera’s Auto ISO function. It helps maintain your desired shutter speed. Set a minimum shutter speed in your camera settings. The camera will automatically adjust the ISO for proper exposure. Be mindful of pushing the ISO too high, as this can introduce noise. However, it’s often a better trade-off than motion blur when aiming for sharp wildlife photography.
During our Highborn Safaris, I often advise photographers to anticipate movement. If you see an animal preparing to run or fly, proactively increase your shutter speed. We’ll practice panning techniques to capture moving subjects with a sharp subject and a blurred background. This adds dynamism to your wildlife photographs.

2. The Focus Fiasco: Nailing Sharp Focus on Wildlife
Accurate focus is paramount for sharp images. Even with a fast shutter speed, if your subject isn’t properly in focus, your photograph will lack clarity. Wildlife photography presents unique focusing challenges. This is especially true with erratically moving subjects or those partially obscured by vegetation. Mastering focus is key to successful wildlife photography.
The Fix:
- Master Autofocus Modes: Understand your camera’s different autofocus (AF) modes. Examples include Single-Point AF, Continuous AF/AI Servo, and AF-Area Modes. For stationary subjects, Single-Point AF allows precise focus. For moving wildlife, Continuous AF is crucial. It tracks the subject as it moves within the frame. Experiment with different AF-Area Modes. See which works best for various scenarios. Often, a smaller focus area within Continuous AF provides the best accuracy for isolating your subject in wildlife photography.
- Back-Button Focus: Consider setting up back-button focus. This separates focusing from the shutter button. You can continuously track your subject with the back button. Then, fire the shutter independently when the moment is right. Many wildlife photographers find this technique offers more control over focus.
- Focus on the Eyes: The eyes are often the most important part of an animal’s face. Aim to get the eyes sharp whenever possible. This will draw the viewer into the wildlife photograph. It creates a stronger connection.
- Be Mindful of Obstacles: Be aware of anything between you and your subject. This includes blades of grass or branches. Your camera might mistakenly focus on the foreground. Therefore, try to find a clear line of sight whenever possible for optimal wildlife photography.
On our Highborn Safaris, we’ll practice various focusing techniques. This includes tracking predators and capturing birds in flight. I’ll guide you on selecting optimal AF modes for specific situations. I’ll also help you develop the muscle memory for quick and accurate focusing for your wildlife photography.
Ensuring Stability for Crystal-Clear Safari Shots
Even with correct shutter speed and focus, camera shake can ruin an image. This is especially true with longer lenses often needed for wildlife photography. Stability is crucial for achieving sharp wildlife photos.

3. The Stability Saga: Minimizing Camera Shake in Wildlife Photography
Camera shake caused by unsteady hands can lead to blurry images. This happens even with a fast shutter speed. It’s especially common when using longer lenses. These are often necessary for wildlife photography. Minimizing camera shake is essential for quality wildlife photography.
The Fix:
- Employ a Sturdy Tripod or Monopod: A tripod offers ultimate stability for stationary shooting. This is especially true with telephoto lenses. A monopod is a more portable alternative. It still provides significant support. We often use these on our Highborn Safaris. This is particularly true during longer waits at waterholes or when photographing static subjects.
- Proper Handholding Technique: If handholding your camera, use proper technique. Minimize shake. Keep your elbows tucked in close to your body. Use your body as a pivot. Support the lens with your non-shooting hand.
- Image Stabilization (IS) or Vibration Reduction (VR): Many lenses have built-in image stabilization. Engage this feature when handholding. It compensates for minor movements. Remember, however, that IS/VR primarily helps with camera shake, not subject motion in wildlife photographs.
- Remote Shutter Release or Timer: Use a remote shutter release or the camera’s self-timer. This eliminates any potential shake from pressing the shutter button.
During our game drives, we’ll discuss the best ways to stabilize your camera. This includes various shooting positions. Whether you’re in the vehicle or on a guided walk (where permitted and safe), we’ll find solutions for your wildlife photography.
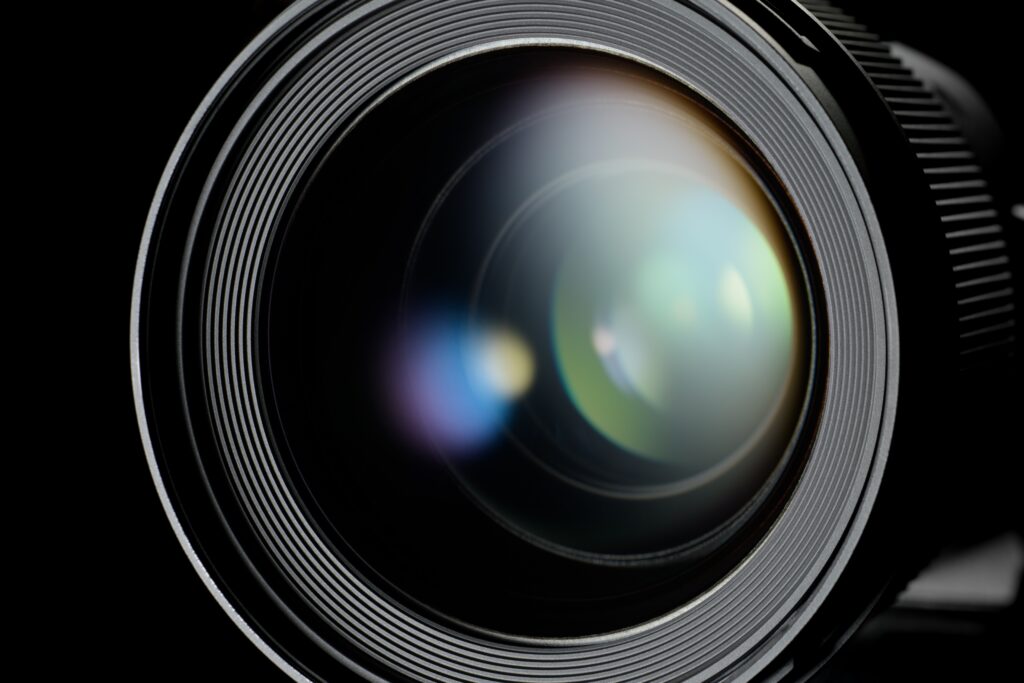
4. Lens Limitations: Understanding Your Equipment for Sharp Wildlife Photos
While skill and technique are crucial, your lens quality can also impact sharpness. Some lenses are inherently sharper. Understanding your lens’s sweet spot can make a difference in capturing sharp wildlife photographs. The right lens can significantly enhance your wildlife photography.
The Fix:
- Know Your Lens’s Sweet Spot: Most lenses are sharpest when stopped down a couple of stops from their maximum aperture. For example, if your lens has a maximum aperture of f/2.8, it might be sharpest around f/4 or f/5.6. Experiment with different apertures. Find your lens’s optimal performance.
- Consider Lens Quality: Investing in higher-quality lenses often results in sharper images. It also provides better contrast and faster autofocus. Consider upgrading your lenses over time as your passion for wildlife photography grows.
- Clean Your Lens Regularly: Dust, fingerprints, and smudges on your lens significantly reduce sharpness. Carry lens cleaning cloths and fluid. Make it a habit to clean your lenses regularly. This is especially important in dusty environments like the African bush.
On our Highborn Safaris, I can offer insights from my own experiences with various lenses. I can help you understand the strengths and limitations of your current equipment for wildlife photography.

5. Post-Processing Potential: Sharpening Your Wildlife Images
Capturing sharp images in-camera is essential. However, post-processing can further enhance sharpness. It can bring out fine details in your wildlife photographs. Post-processing can refine your wildlife photography.
The Fix:
- Judicious Use of Sharpening Tools: Most photo editing software (like Adobe Lightroom, Photoshop, etc.) offers sharpening tools. Use these tools carefully. Avoid over-sharpening. This can introduce unwanted artifacts and noise.
- Sharpening for Output: Consider sharpening your images specifically for their intended output. This includes web display or printing. Different output methods often require different levels of sharpening.
During our downtime on the safari, I can offer basic guidance on post-processing techniques. This includes how to effectively use sharpening tools. This will enhance your wildlife photographs.
Bonus Tip: Achieving Sharpness with Entry-Level Gear on Safari
You don’t need the most expensive equipment to capture sharp wildlife photos. This is an important point. Focus on mastering the fundamentals discussed. This includes shutter speed, focus, and stability. You can achieve excellent results even with more affordable gear. Understanding your camera’s limitations and working within them is key. For example, if your kit lens isn’t the sharpest at its telephoto end, try to get closer to your subject (when safe and ethical). Alternatively, crop your images slightly in post-processing. Even with entry-level gear, stunning wildlife photography is achievable.
Sharpening Your Safari Memories with Highborn Adventures
A Highborn Safari Adventure is more than just a trip. It’s an opportunity to connect with Africa’s wild heart. It lets you capture its beauty through your own lens. By understanding the common causes of unsharp photos and implementing these practical tips, you’ll be well-equipped. Consequently, you’ll return home with truly stunning and sharp wildlife photographs.
I am passionate about helping fellow photographers. This is true regardless of their experience level. I want to help them elevate their skills. I want them to capture the magic of the African bush. On our tailor-made safaris, I provide personalized guidance and support. This ensures you have the best possible opportunities. You can hone your craft and create lasting memories. Join me on a Highborn Safari Adventure. Let’s embark on a journey. We’ll capture the untamed beauty of Africa in all its sharp and glorious detail. Explore our Safari Photography Tours for an unforgettable experience.
Ready to sharpen your skills and capture incredible wildlife photographs? Check out our Tailor-Made Safaris and explore our Upcoming Safari Trips!
What are you most excited to photograph on your next safari?